Making your own wool yarn is both a rewarding and enjoyable experience. By creating your very own yarn, you are able to customize the size, colour, shape, and texture of your project. Whether you’re a beginner or an experienced knitter, this article will provide you with step-by-step instructions on how to make your very own wool yarn. With the right tools and materials in hand, you can easily create a unique piece that is sure to be admired for years to come.
Wool Yarn Basics
To start with, wool yarn is made from the fleece of sheep or lambs. The process begins with the shearing of the animal’s fleece, which is then washed to remove any dirt or impurities. Once it has been cleaned, the fleece is carded and combed to align the fibers and make them easier to spin.
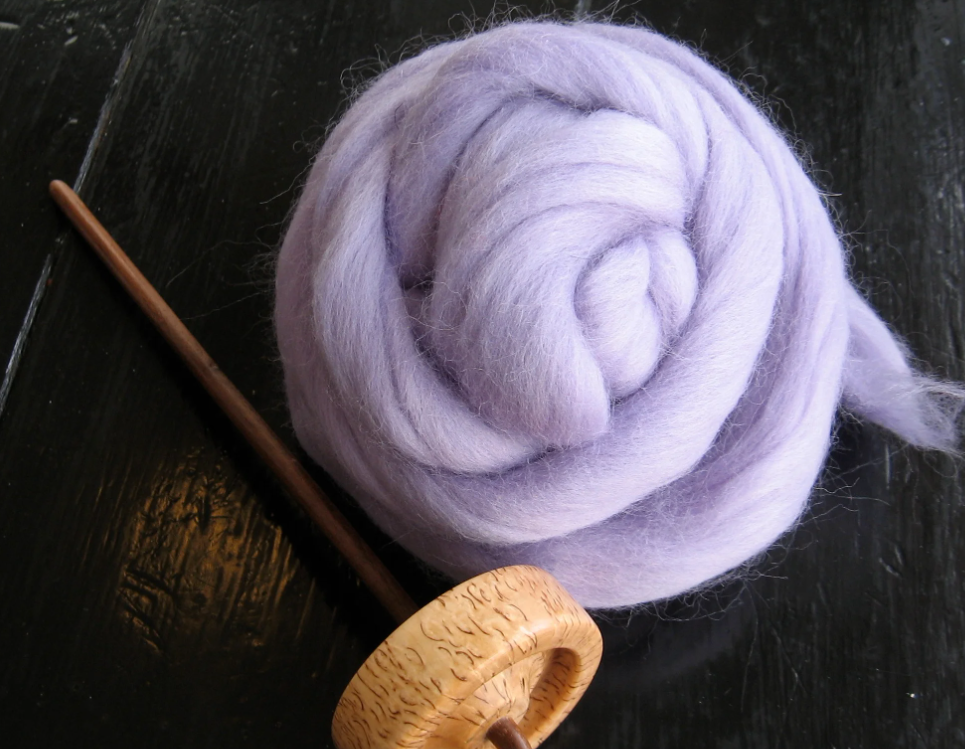
The next step is spinning, where the wool fibers are twisted together to create a continuous strand of yarn. This can be done by hand using a drop spindle or on a spinning wheel for larger quantities. The thickness of the final yarn depends on how tightly it is spun and how many plies it has.
After spinning, the yarn may go through additional processes such as plying (twisting multiple strands together), dyeing (adding color), or finishing (washing or steaming). Wool yarn can vary in texture depending on factors such as breed of sheep, type of processing, and whether it contains any synthetic materials.
Overall, making wool yarn requires some specialized equipment and knowledge but can be a rewarding craft for those interested in working with natural fibers.
Step 1: Choose Yarn Type
When it comes to making your own wool yarn, choosing the right yarn type is crucial. There are various types of wool available in the market such as merino, alpaca, cashmere and mohair. Each one has its own unique properties that make them suitable for different projects.
Merino wool is a popular choice due to its softness and breathability. It’s an excellent option for cozy sweaters or blankets that will be worn close to the skin. Alpaca wool is another common choice thanks to its warmth and durability. It’s perfect for winter accessories like hats and scarves.
Cashmere wool is known for its luxurious softness and is often used in high-end fashion items like shawls and wraps. Lastly, Mohair wool has a distinct fuzzy texture which makes it ideal for creating plush toys or decorative items like pillows.
Ultimately, the type of yarn you choose will depend on your project needs as well as personal preference. Take time to research each type of wool before making a decision – this will ensure that you end up with a beautiful finished product that meets your expectations!
Step 2: Prepare Fleece
After sorting and washing the fleece in the previous step, it is now time to prepare it for carding. First, lay out the washed fleeces on a clean surface to dry completely. It is important to ensure that no moisture remains, as this will make carding difficult. Once dry, pick apart any clumps of fiber by hand, loosening them up and making them easier to work with.
Next, use a pair of shears or scissors to trim off any matted or tangled sections of the fleece. This will help ensure that only high-quality fibers are used for yarn-making. Take care not to cut off too much or too little; aim for an even length throughout the entire fleece.
Finally, use your hands or a flicker brush to open up the tips of each individual fiber in the fleece. This process helps separate and align fibers before carding begins. Once all these steps are completed, you are ready to move on to Step 3: Carding!
Step 3: Card the Wool
Carding wool is a crucial step in spinning yarn as it helps align and prepare the fibers for spinning. To card wool, you will need a pair of hand carders or a drum carder. The process involves taking small amounts of wool and brushing them with the hand carders until they are smooth and even. Once you have finished carding your wool, it is ready to be spun into yarn.
Using hand carders can be a bit time-consuming, but it allows for more control over the texture of your finished yarn. With practice, you can vary the amount and direction that you brush your wool to create different textures in your final product. Drum carders are much faster than using hand cards but require a larger investment upfront.
It’s important to take care when handling raw wool as it can often contain dirt or other debris that needs to be removed before use. Carding helps remove any leftover vegetable matter that might still cling to the fibers after washing, leaving behind only clean, fluffy wool ready for spinning into beautiful yarns of all colors and textures.
Step 4: Spin the Yarn
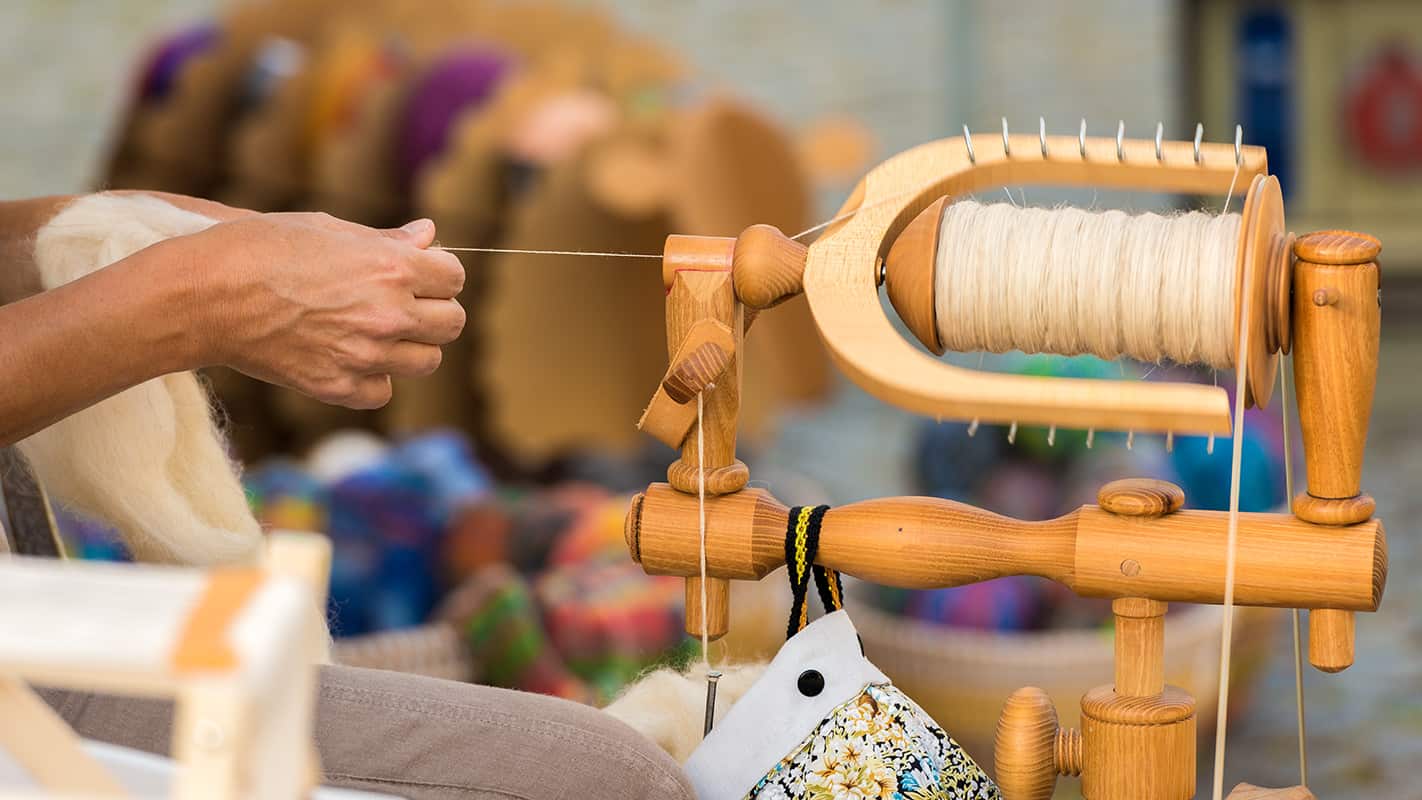
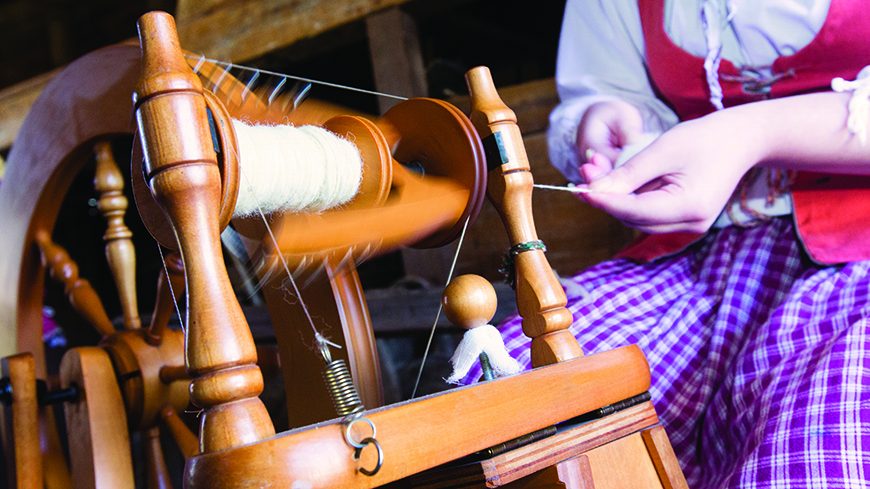
After you have carded the wool, it is time to start spinning the yarn. Spinning is the process of twisting fibers together to create a continuous thread or yarn. You will need a spinning wheel and a spindle for this step.
To begin, take a small portion of your carded wool and attach it to the spindle or bobbin on your spinning wheel. Twist the fibers together by turning the wheel with one hand while gently pulling on the fiber with your other hand. As you spin, add more fiber to create a continuous strand of yarn.
As you spin, adjust the tension on your wheel or spindle as needed to ensure that your yarn is evenly spun and not too loose or too tight. Take care to keep an even thickness throughout your yarn as you spin so that it will be easy to work with later on. When you have finished spinning, wind your freshly created yarn onto a bobbin or swift for use in future projects!
Step 5: Wash and Set the Yarn
After the wool yarn has been dyed, it is time to wash and set the fibers. This is a crucial step in achieving the desired texture and durability of the finished product. First, fill a container with warm water and add a small amount of mild soap or detergent. Gently place the yarn into the water, making sure it is completely submerged.
Next, agitate the water by gently swishing it around for several minutes. Be careful not to rub or twist the yarn as this can cause felting or tangling. Once you have thoroughly washed all of your yarn, rinse it well with warm water until all soap residue has been removed.
To set the yarn, you will need to hang it up to dry. Choose a location that is well-ventilated but out of direct sunlight to prevent fading. Hang each skein separately using clothespins or hangers and make sure they are evenly spaced apart so they do not touch while drying. Once fully dry (which may take several hours), your yarn will be ready for use in your next project!
In conclusion, creating your wool yarn is a fulfilling and rewarding experience. The process allows you to customize and personalize your yarn according to your preferences while also providing a sense of accomplishment. You can use the wool yarn for knitting, crocheting or weaving projects.
One thing to keep in mind when making wool yarn is that it requires patience and dedication. You need to take the time to properly clean, card, and spin the wool fibers into yarn. It’s important not to rush through these steps as they determine the quality of the final product.
Lastly, learning how to make wool yarn is a valuable skill that can be passed down for generations. Whether you’re looking for a new hobby or interested in traditional crafts, creating your own wool yarn is an experience worth trying out.